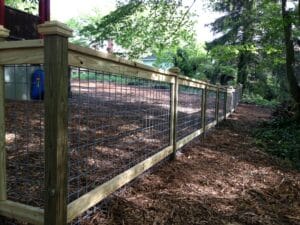
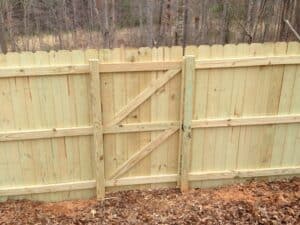
Once you have decided the placement of the fence, its time to get a fence-man’s work out by digging fence holes. Start by setting the corner and end posts in concrete. Each hole needs to be big enough to allow 2″ of concrete around all sides of the post and 2′ deep. Then tie your string line onto to the same side of all the posts and pull tight, not so tight that the posts move. Starting on the outside of the first post, mark every 8′ on centers for your fence posts, dig holes and set the posts in concrete using a level to keep the posts 1/16″ of the line.


After setting the fence post in concrete they must be left for 24 hours to dry.
Now measure 66″ up from the ground on all posts and put a temporary nail. Using a line, pull it tight from the ends and corners and use the other temporary nails to hold the line in place. Looking along the line you may have to raise or lower the temporary nails so you can flow in the line of the fence. Once you have achieved the best flow of the fence, mark the post where the line crosses the center of the post with a pencil. From this mark , measure down 28″ and 56″ and mark with the pencil. This mark is the top of you fence rail. Install the rails using 3″ galvanized nails.

Mark up 2″ on every post and cut the top of the post off. On every post nail up a temporary fence picket 6″ above the top rail. Attach the string line pulled tight to the top of the temporary fence pickets This is the line you follow when installing the fence pickets using 2″ galvanized nails.


